Compass Rose Table
Handmade by Jon Palmer
(click on images for full sized view or each image)
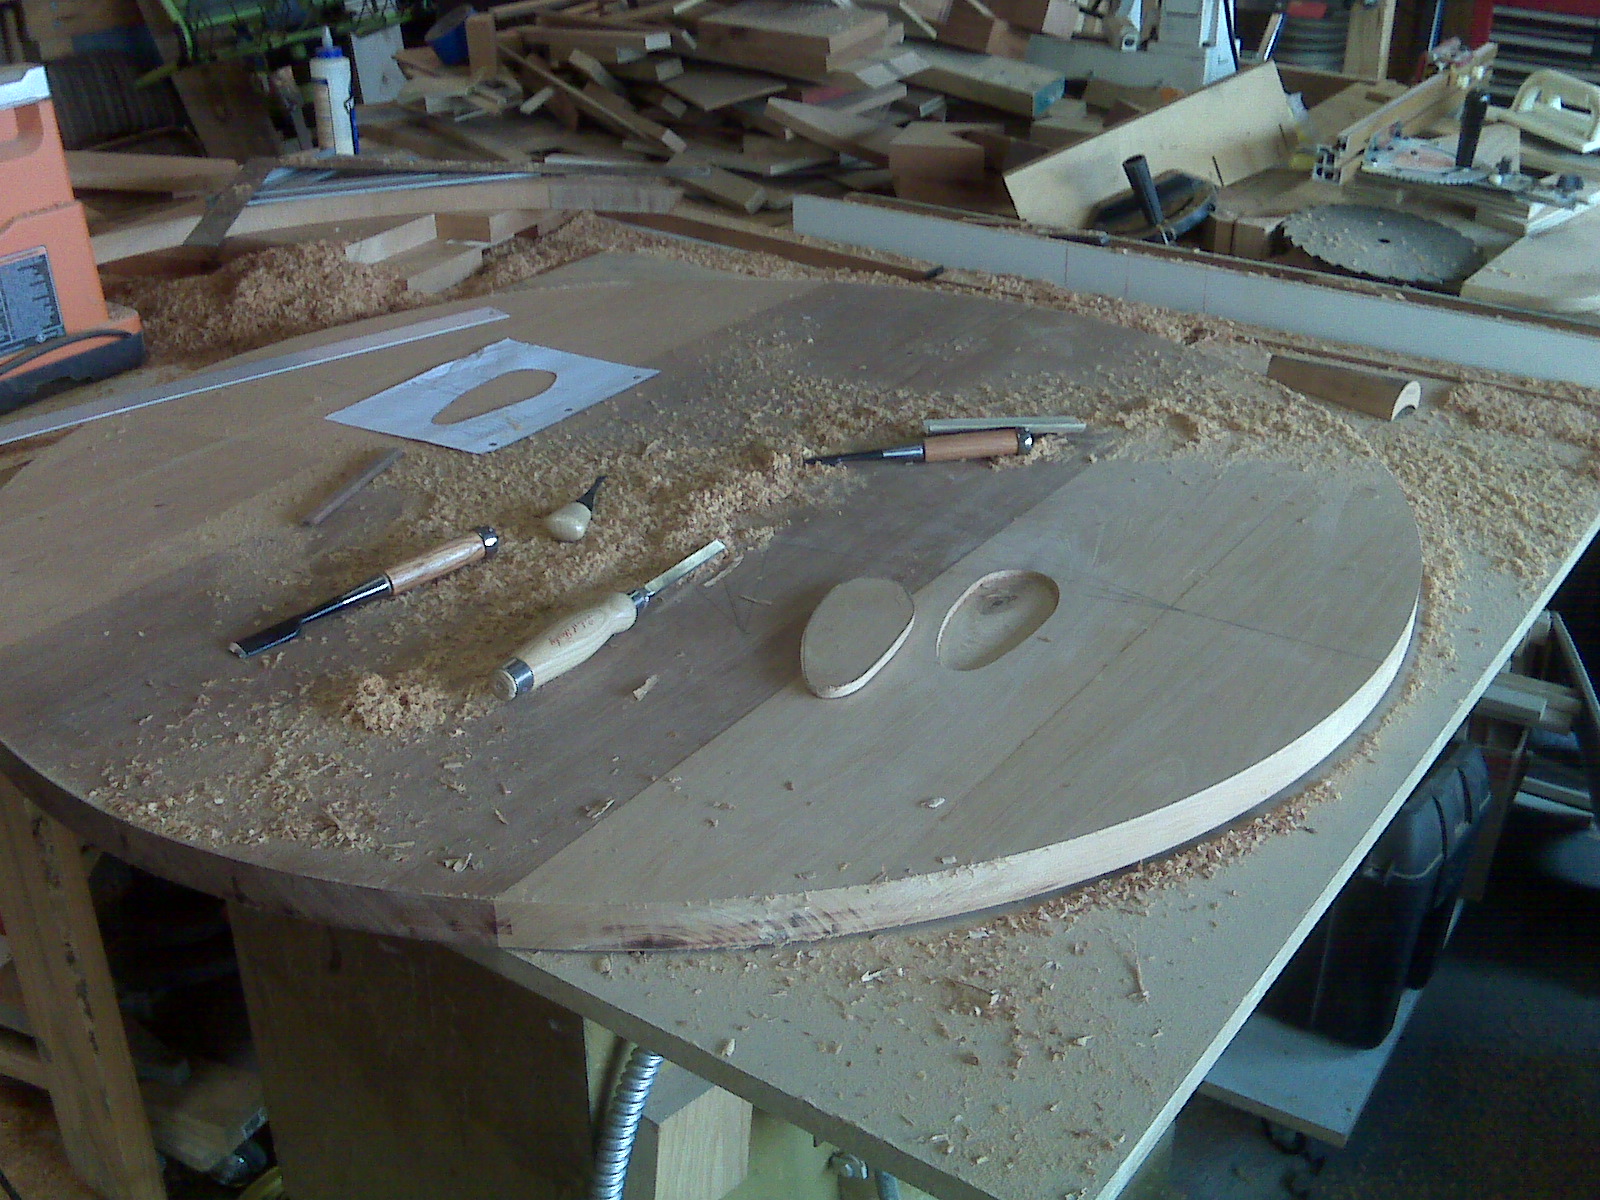
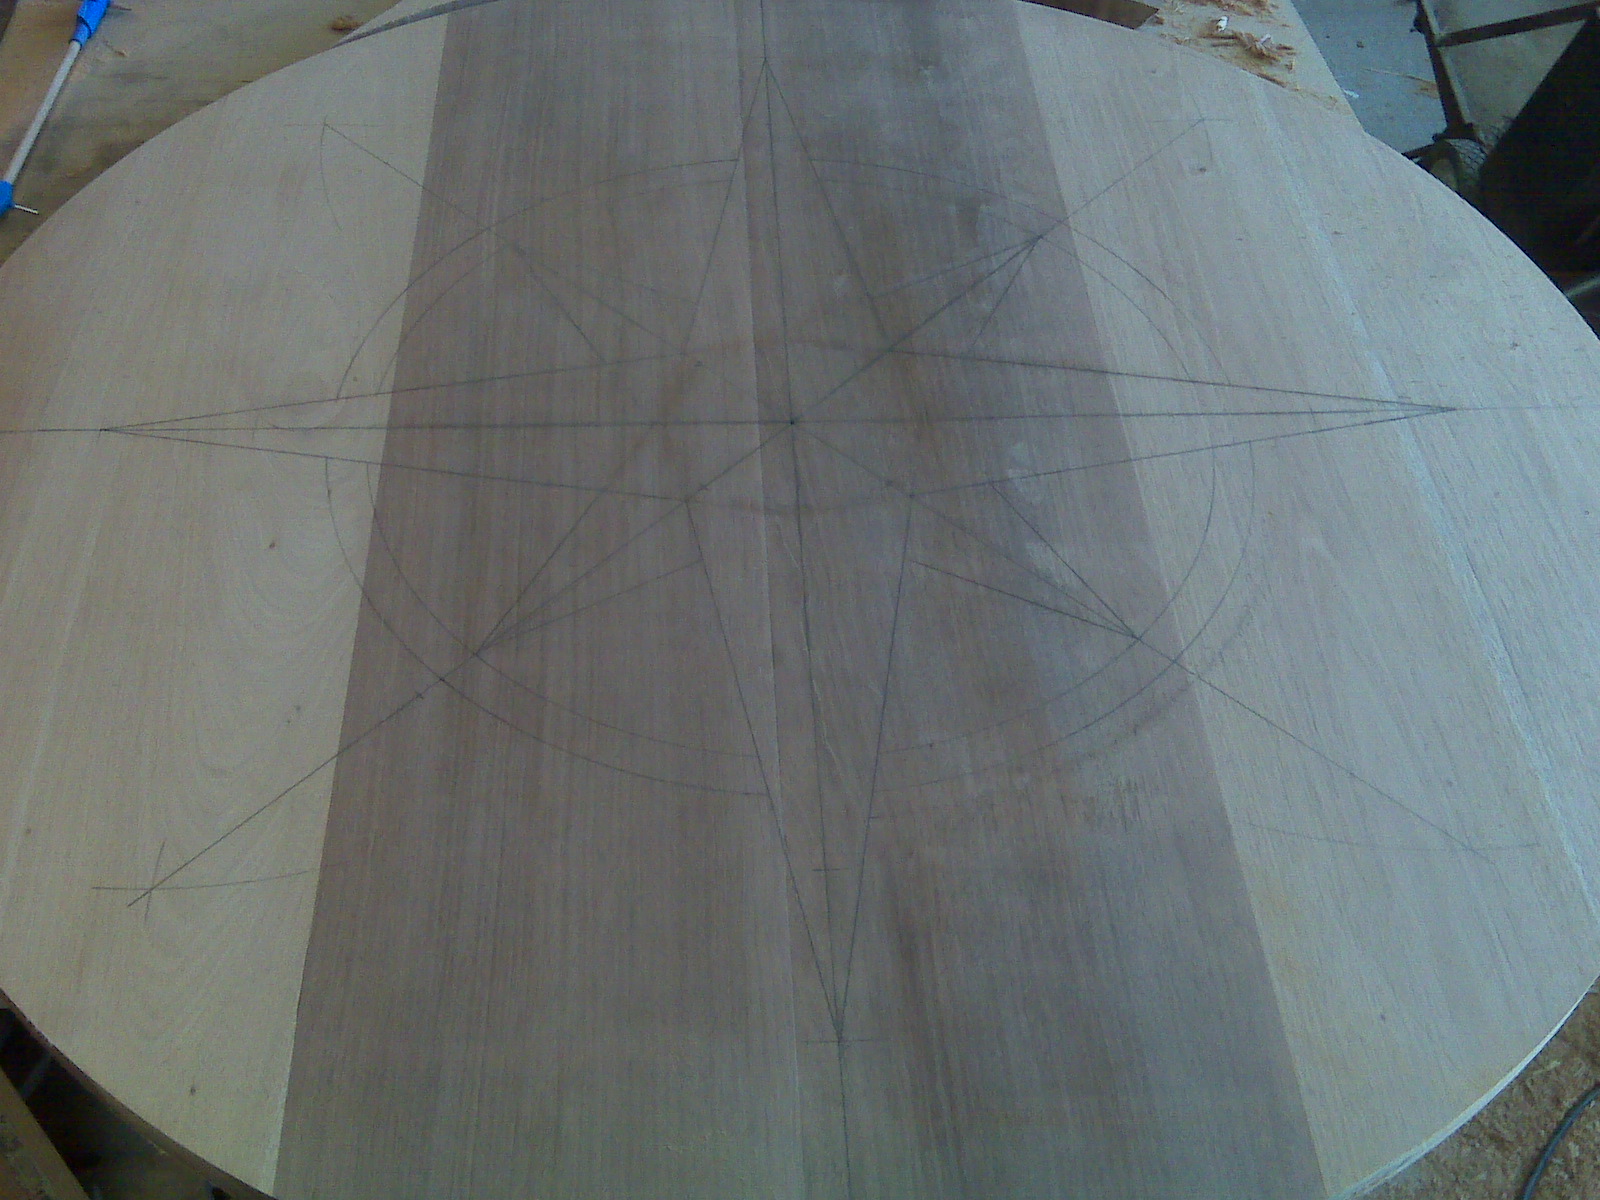
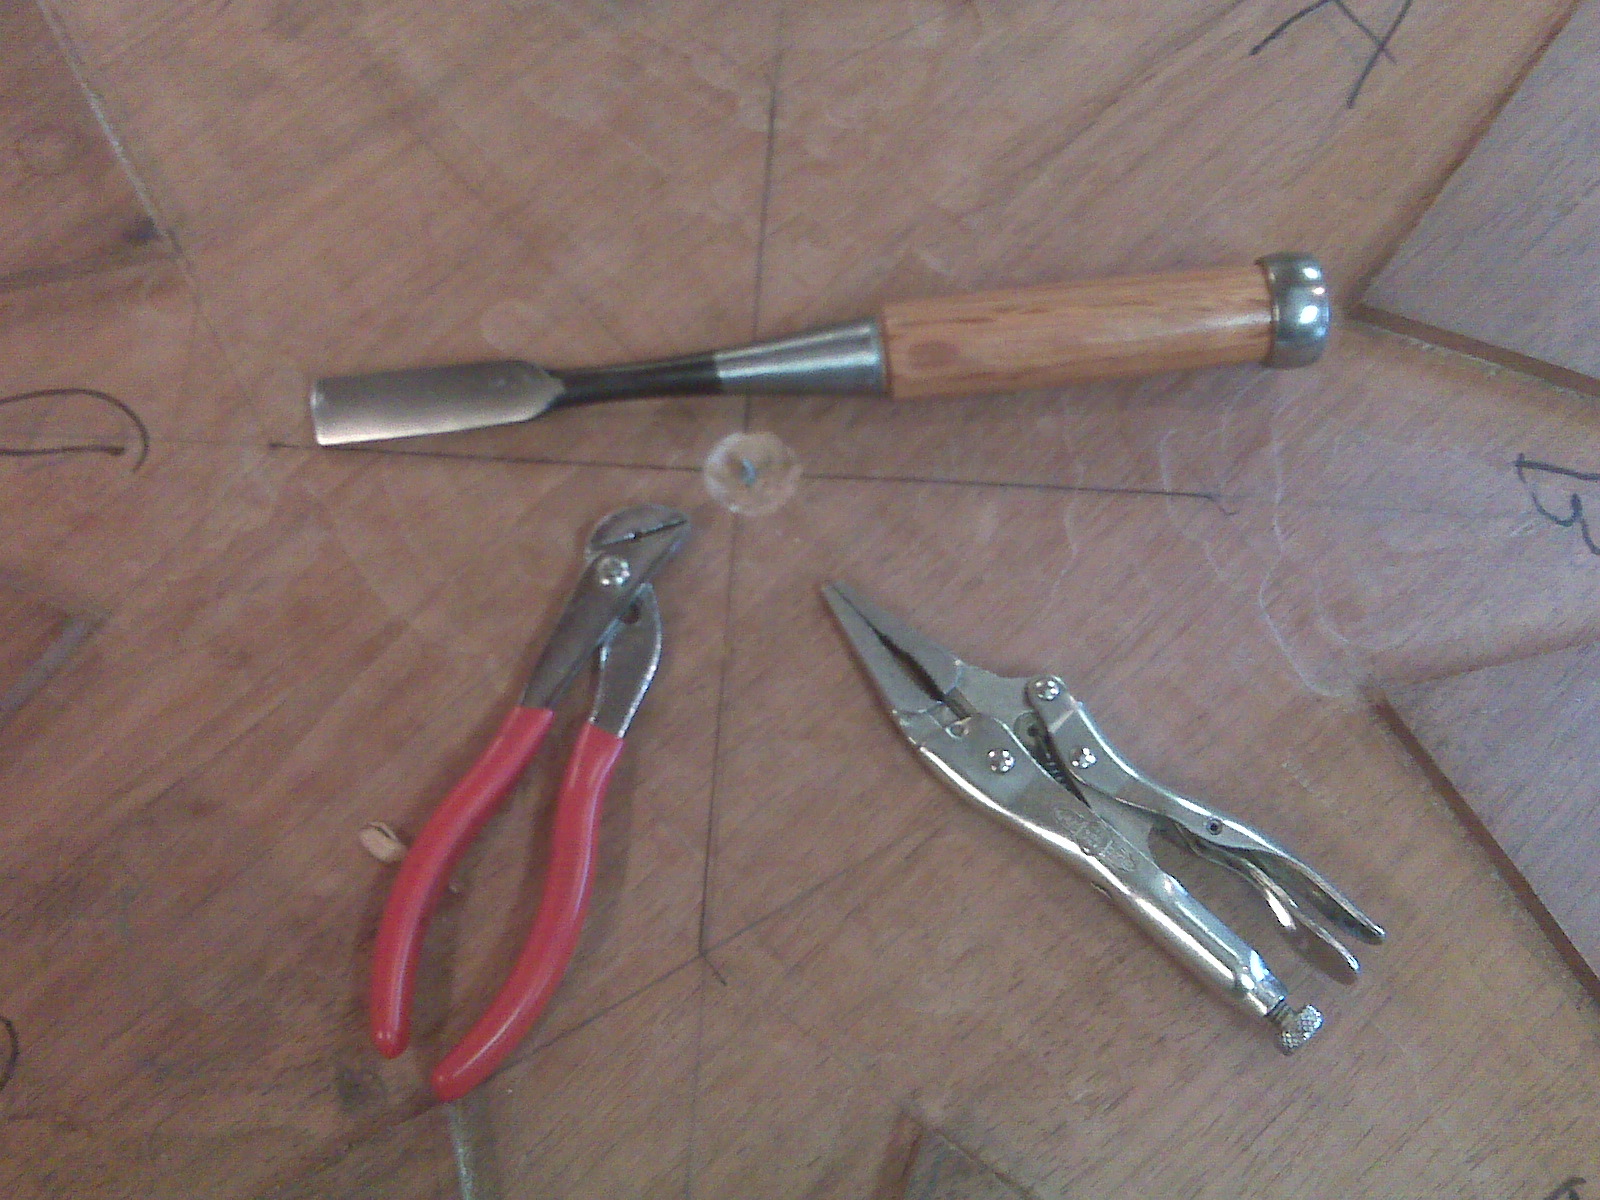
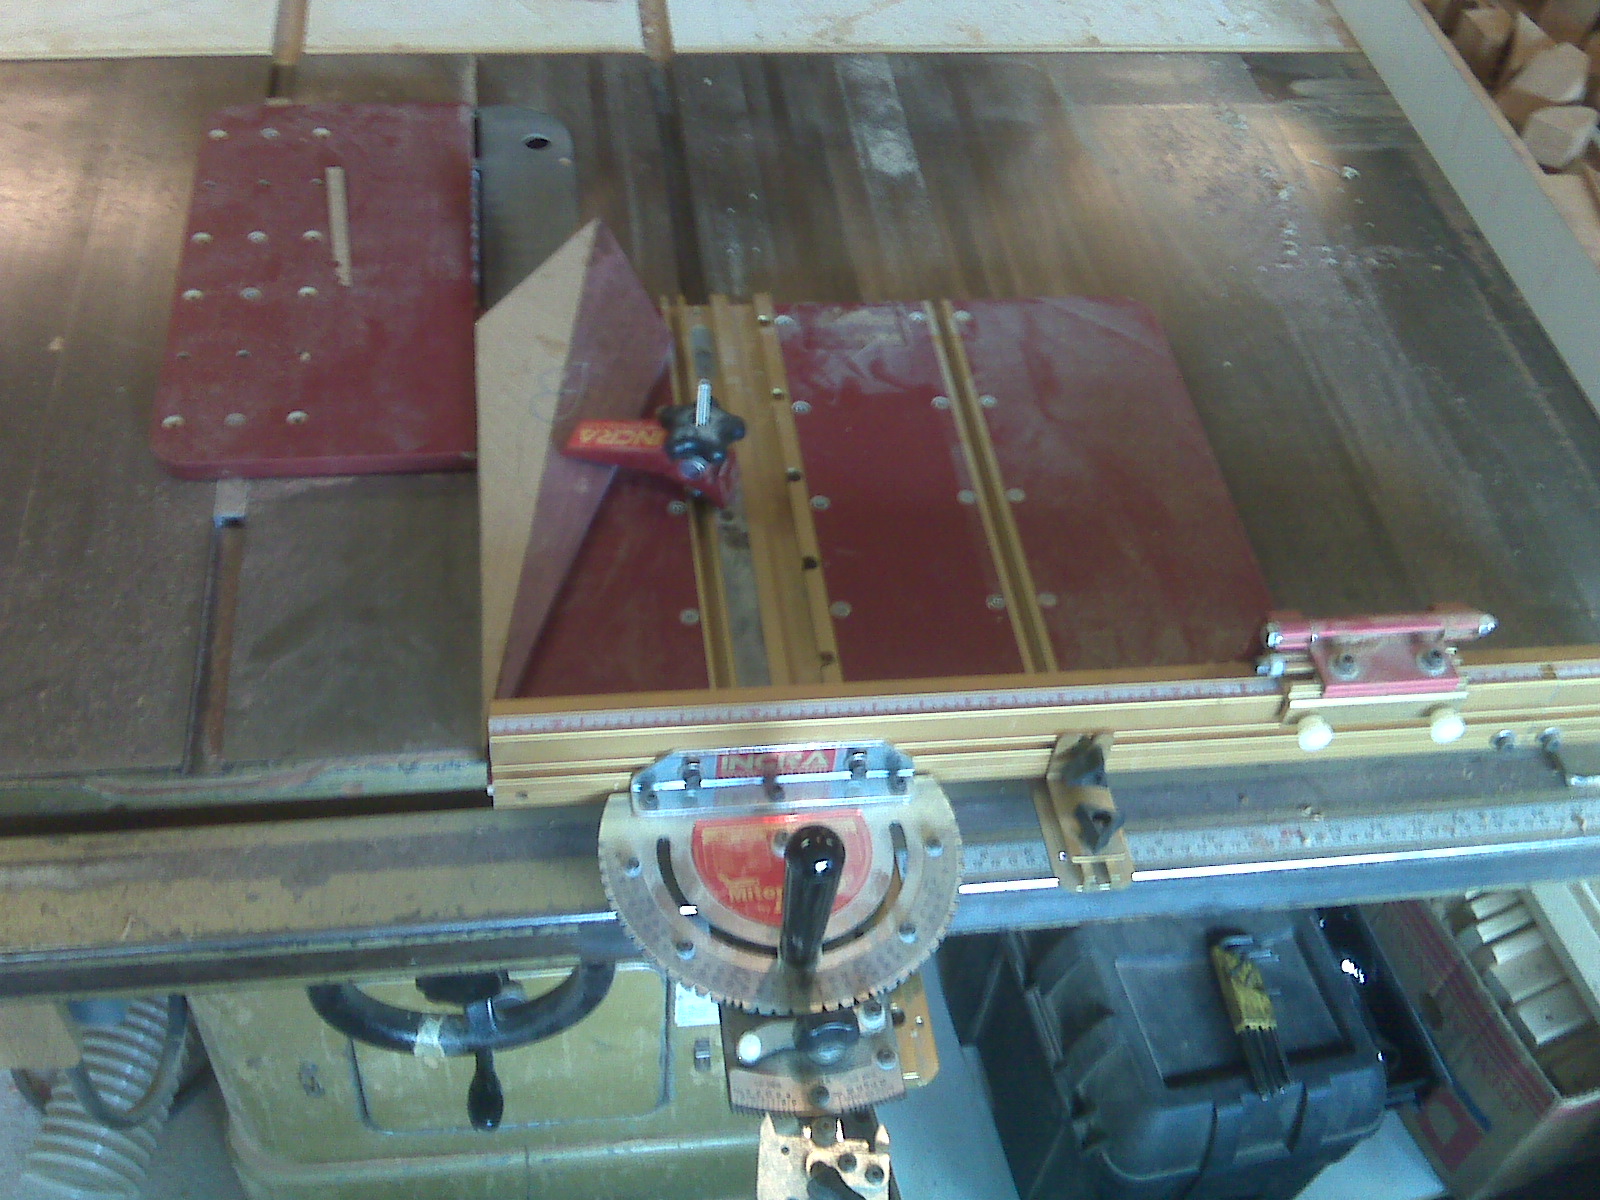
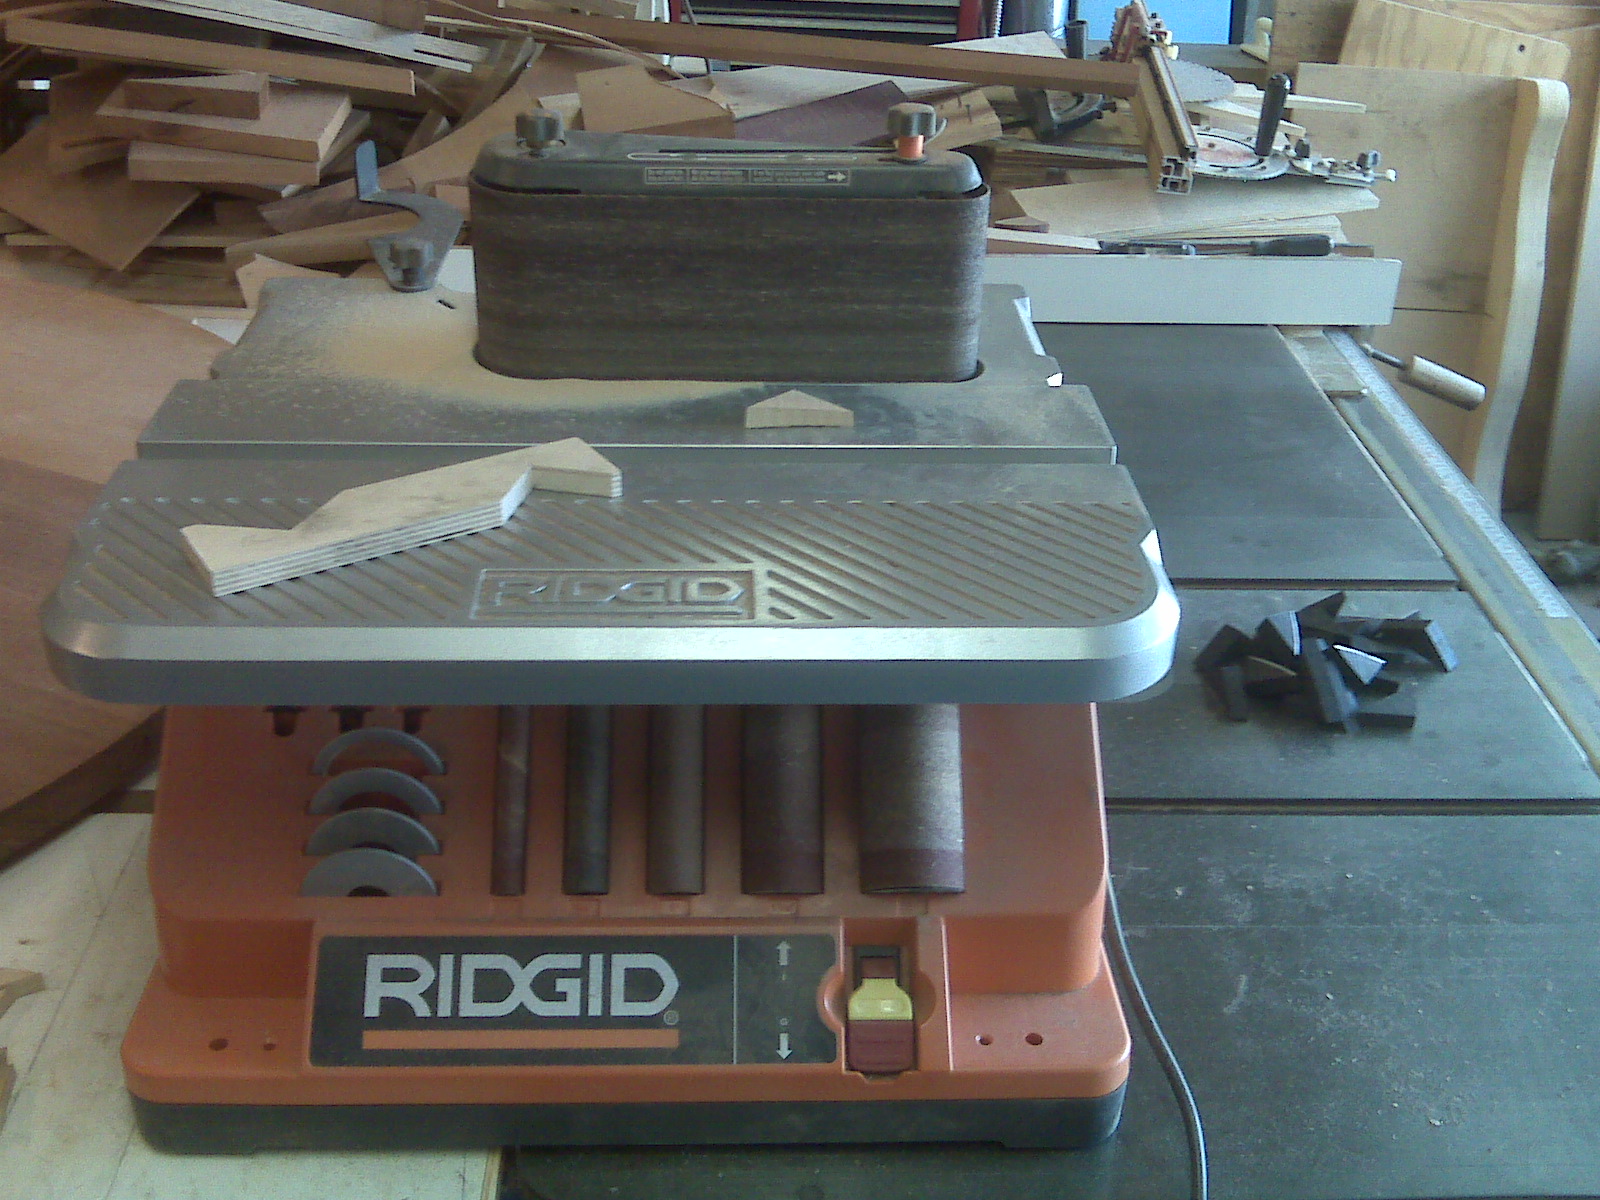
Dad happened to mention wanting a dining table during a visit, and it hit me that it would be fun to make him a table. We cracked out the tape measure and went to town figuring out how big it should be to fit his needs and his space. Then it took me a couple of months (ok, from November to February) to figure out exactly what it should look like. I wanted it to be big and sturdy, and thought maybe a nautical theme would be nice. Dad taught me to sail. :-) The compass rose idea came pretty quickly, but the base gave me fits. I wanted something cool, like maybe a set of hammerbeam trusses or something. Then I realized something that complex would fight with the top for visual interest. Several wild iterations later (including a brief flirtation with tensioned structures using block and tackle), I settled on timber framing joinery and a gothic arch. Looked good but understated and fulfilled my need for good solid joinery. Started with the square timbers for the legs and aprons. Clamped a stop block into the crosscut sled and started cutting shoulders. Finished the shoulders with the tenoning jig, then mortised them on the mortiser. I don't get to use this thing often enough. It's *very* nice to work with. After the mortising machine, I like to clean up the bottoms of the mortises with a good stout chisel. Sash mortising chisels are great for this but any chisel should do, from inexpensive bench chisles to fancy swan-necked mortise cleaner-outers. :-) ...and then when you've cut the mortise too wide or trimmed the tenon cheeks too narrow you just glue some pieces of scrap back in and go again. The scraps sticking up out of the mortise here are twisted until they wedge the patch in place. The arched braces are all shaped, and it's time to strike the shoulders on the tenons. The framing square allowed me to set the lines correctly and the striking knife severed the fibers for clean shoulder cuts. Shoulder lines struck, it's time to make nice square cuts to form the shoulders. Nice square cuts on these lovely curved pieces. Riiight... Here I'm experimenting with using a straight scrap of oak to guide the saw blade. ...and here I'm using a handscrew to see if it works better. ;-) Here the handscrew provides a guide for the chisel as I clean up the sawcuts for the shoulders where they meet the legs and upper stretchers. Last operation here is to carefully fit the cheeks using the tenon jig. This jig is fiddly, need to get (or make) a more precise one. If you don't hold your breath right this one makes inconsistent cuts. Now to sand the mating surfaces flush to match the thickness difference in the stretchers and legs. I could have left a reveal where the braces meet the legs, but didn't want to at the time. The braces are tenoned into the legs and stretchers, but needed something to hold them securely where they mate up as well, so I made some dowels out of mahogany stock from cutoffs. Cut squares on the bandsaw, rounded a bit with a rasp, then drove the pieces through the dowelling plate. Next task was to cut the relief plugs away so the two pieces of the base would cog together. No permananet attachment, the table disassembles to pack flat. :-) Look-a-there, it fits! So now it's time for the top. The darker pieces are about twice as dense as the lighter ones, and the lighter ones are *not* sapwood -- this is all heartwood. I didn't catch this difference at the mill, but it's fairly attractive so off we go. I likes me some Bessey K-body clamps I tells ya. High and low keeps 'em flat, you bet. Here's the top all glued and marked, ready to cut out. In the foreground you'll see a knot right here on the top. No worries, I've seen the pros fix this kind of stuff and read about it. I got a Plan. ;-) After roughing out the circle, it's out with the trammel jig and rout'er down. After this much manipulation, the wood is complaining. It has warped a bit which will stress the top when snugged up to the base with figure 8 fasteners. Out comes the trusty No. 7 joiner plane and fun is had by all while flattening. I believe it was more than a quarter inch proud in the middle! I used two different bits to profile the top: A 1/2" roundover not quite all the way out for the top surface, and a 1-1/2" buried pretty deep for the underside. This made a nice asymmetrical curve that gave the top some interest without making it look delicate. If delicate was what we wanted, we'd've made the dang thing thinner in the first place. Hmph. Ok, here's the Plan for that pesky knot on the top surface. If it wasn't right in the way of the compass rose, it might be ok to leave it. Sadly the layout lines show that about 1/3 of it disappearing under one of the arms. I've located a cutoff with matching grain, but no actual knot. Just a really lucky match for the degree of grain curve and swirl in that spot. I've cut a patch and struck the outline, then used the palm router to get really close, and chisels and gouges for the rest of the fit. There are a few place where the fit isn't perfect, so after applying the glue I've tried a trick that lots of respectable woodworkers have used. This includes Tage Frid himself, the scamp. A series of swift blows with a good ball-peen hammer will deform the fibers so they spread into the slight voids. A good dollop of glue and a well prepared clamping caul will make sure the patch seats nicely. We'll come back later and see what we've got. Laying out the compass rose. Can't hardly see that patch now that it's sanded flush, can you? :-) Here's a view after most of the figure has been wasted out and cleaned up. I used this jig to strike the lines, then did the bulk of the work with a router and 1/2" plunge cutting bit, then finished to near the lines with the palm router and a 1/8" spiral cutting bit. The finishing cuts to the lines were done with chisels and some homemade cutters similar to violin knives. So if you get too aggrssive setting up the router trammel you can actually break off the screw head... Then you have to dig out enough material to grab the thing with needlenose vise grip or some such to back it out. Sigh. Here's most of the assortment used to clean out the relief. Missing is a skewed carving chisel which helped in some of the corners. Lower left is a view of one of the custom knives. This one has the same taper as the points of the rose, and is sharpened along both tapered sides on the upper surface. It is used mostly by sliding it along the flat bottom and pushing into the corners to clean them out. Here are the points of the rose being glued up. Purpleheart and quartersawn white oak look good together. You know, like in the Fretless Bass. :-) One of the techniques used to get the final shape right on the points. Another technique... Somewhere in here I got caught up in the woodworking and didn;t notice I was chaging the original design so that all the points would meet in the middle. After looking back at the original image I was working from, I mocked up the earlier layout with blue tape and a silver marker to get the right color densities. This layout is really much better as you'll see below in some images that show the morphed one. Ah, that's better. See what I mean? This shot and the next three represent some of the tests to see how to layout the arcs. I had already decided on maple and ebony for the contrast, both to each other and to the rest of the table and figure. Next I had to decide how exactly to use that contrast. How many triangles would look right, do the light ones go on the inside or outside, do we let the light ones lap around the dark ones or does it look better if the dark ones lap around the light ones? This shot has the light triangles out and wide... ...this one has the light triangles in and narrow... ...this is the light triangles in and wide... ...adn finally the light triangles out and narrow. Having a hard time seeing the difference? No sweat, take your time. I'll wait here. Having finished this, I now know that there was no need to lay the triangle out on curves like this, but it seemed like a good idea at the time. Here's the jig I used to test each triangle. I cut them out to near the line on the bandsaw then used the oscillting belt sander to finish them so they fit in this little jig. Since the figure is curved, the outer triangles have wider based than the inner ones, and each one is shaped by hand. I tried and tried to think of a clever way to get these uniformly shaped and finally gave up. Glued the maple ones in first, using pieces of the already made up stringing for spacers on the point side, and stuffing actual string in on the other side since it would compress. This would let me come back later and trim out the back side for the stringing with the router. Dang this is a lot of thinking to have to do! Since I had the maple triangles in, I hand fit all the ebony ones to match. Really. Here's the stringing-making operation. Start by slicing off strips of holly on the bandsaw. Next you create a thicknessing jig with a bit of cutoff 2x material and your oscillating belt sander (handy, those things). Now to run the palm router around with the 1/8" spiral upcut bit to clean out for the stringing around the arcs. Then just glue in the stringing. The hammer is handy again to make sure it seats well. Finally use a handy dandy saw to clean up to the lines where the points will go. But wait, there's more stringing! after the points are glued in, we use the palm router and a straightedge of some sort to cut the relief for the stringing around those parts. This is the only view I have of the N until it's all in place. I fiddled with an N from a font I found somewhere, then sized the image up to the dimensions needed and printed out. Then it's just cut, spraystick and jigsaw to the lines. Well, and then strike lines, rout out, clean up and glue in, but close enough. ;-) Once everything is glued in, it's time to sand everything level. Ah ha! *This* is why it's nice to have a huge heavy belt sander! The one I got for this project (one project, one tool, right?) uses the same size belts as the oscillating belt sander. Nice. A view of the complete but unfinished table. Here's the finished and asswembled table showing off the design of the base. Here's my favorite image from this project, the complete and finished top. Oh, boy. *Now* you can see the patch. Another lesson learned the hard way: The Wise Old Woodworkers who use the hammer trick only do it to end grain!


